A Guided Project on Deploying and Configuring Azure Monitor


Task 1 - Ready Your Azure Environment
Actions:
Establish a Log Analytics workspace.
Set up Log Analytics data retention and archive policies.
Activate access to a Log Analytics workspace.
Get ready for your bring-your-own-subscription (BYOS):
These lab exercises presume you hold global administrator permissions for an Azure subscription.
In the Azure Portal Search Bar, type "Resource Groups" and choose Resource groups from the results.
On the Resource Groups page, click Create.
On the Create a Resource Group page, choose your subscription, input the name rg-alpha, set the region to East US, click Review + Create, and then click Create.

Create the App Log Examiners security group:
During this activity, you will create an Entra ID security group.
In the Azure Portal Search Bar, type "Microsoft Entra ID" and select it from the results.
On the Default Directory page, select Groups.
On the Groups page, click New Group.
On the New Group page, input the values as seen below and click Create.

Deploy and Set Up WS-VM1:
During this activity, you will deploy and configure a Windows Server virtual machine.
In the Azure Portal Search Bar, type "Virtual Machines" and choose "Virtual Machines" from the results.
On the Virtual Machines page, click "Create" and opt for "Azure Virtual Machine."
On the Basics page of the "Create A Virtual Machine" wizard, choose the specified settings below and then scroll down to input all details, when done click "Review + Create."

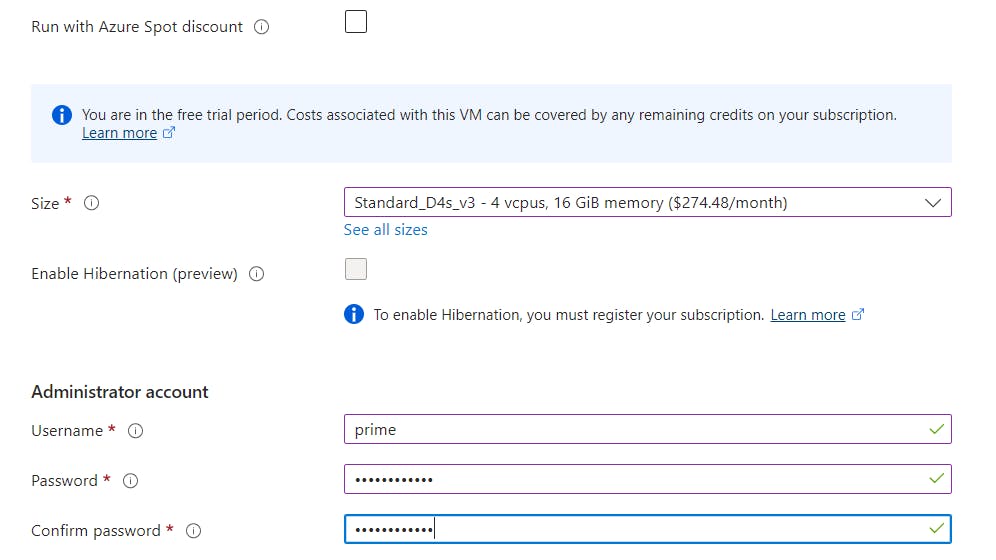
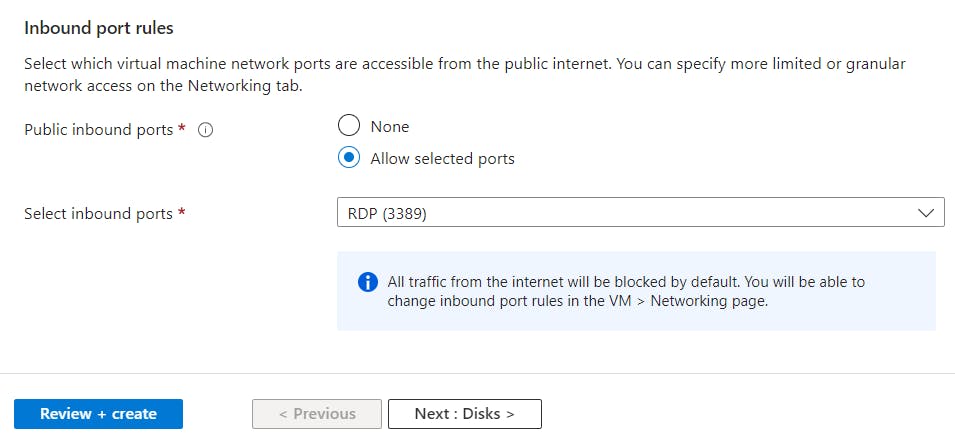
Review the settings and click on Create.
Wait for the deployment to finish. Once deployment is complete, click on Go to resource.
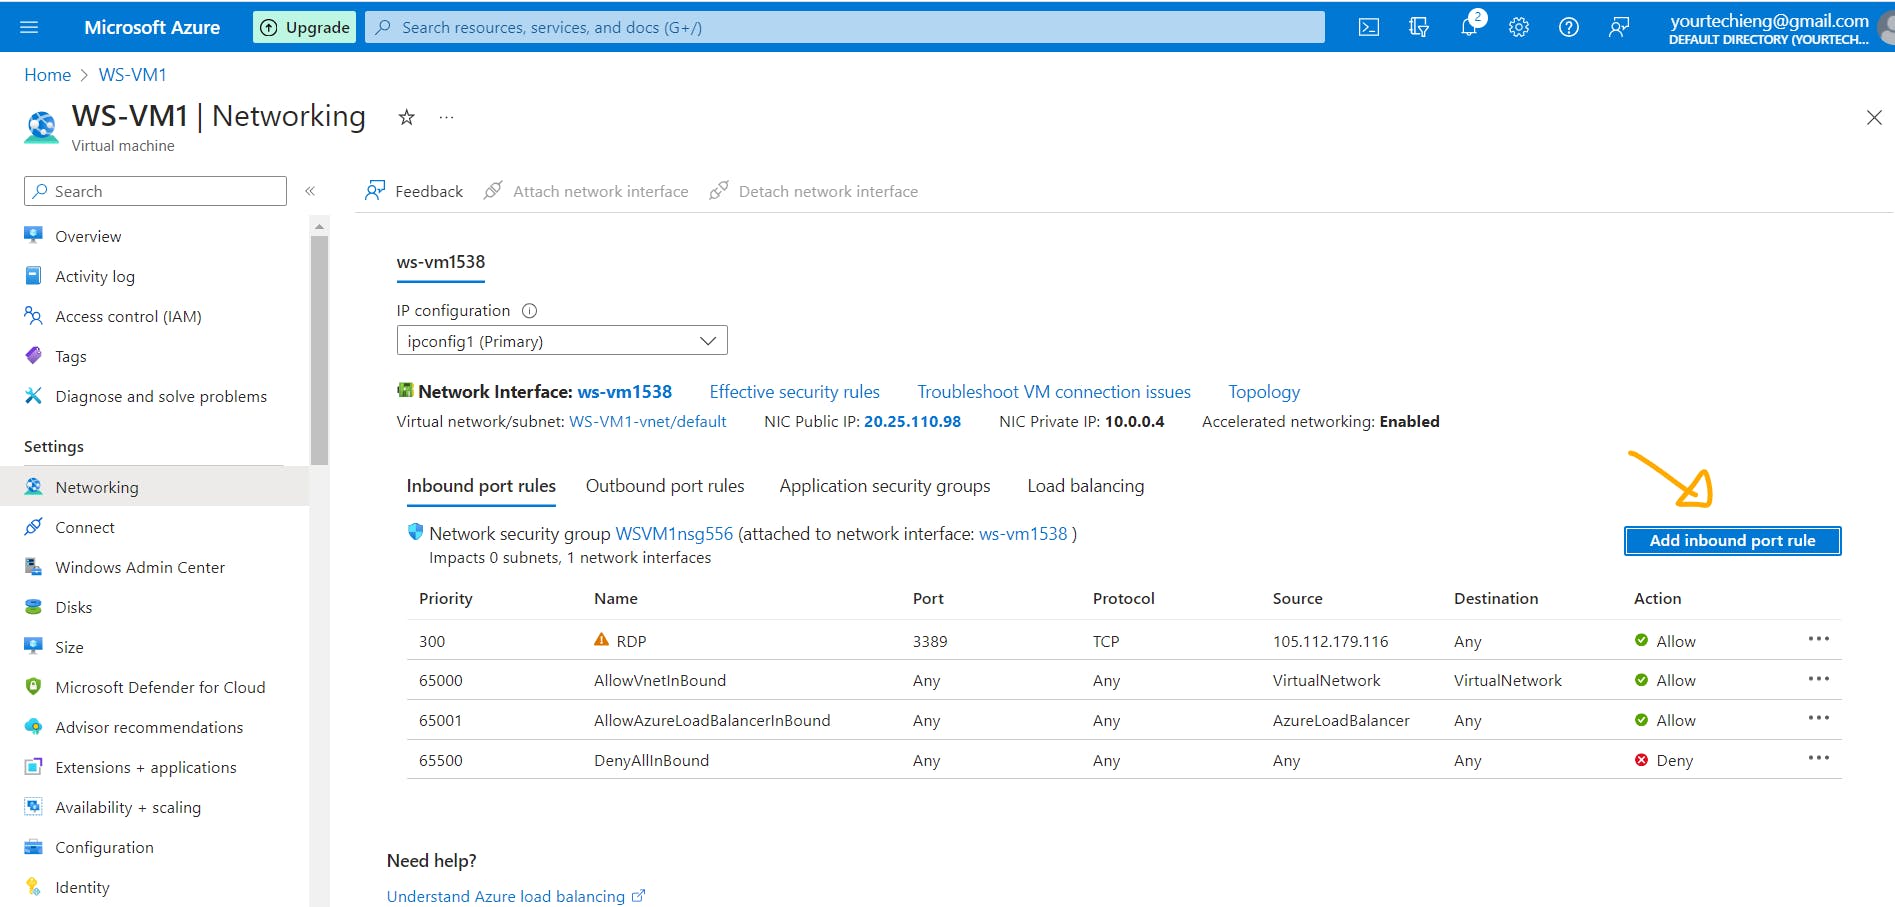
On the WS-VM1 properties page, click on Networking.
On the Networking page, choose the RDP rule.
Within the RDP rule settings, modify the Source to "My IP address" and click Save.
This restricts incoming RDP connections to the IP address you are currently using.

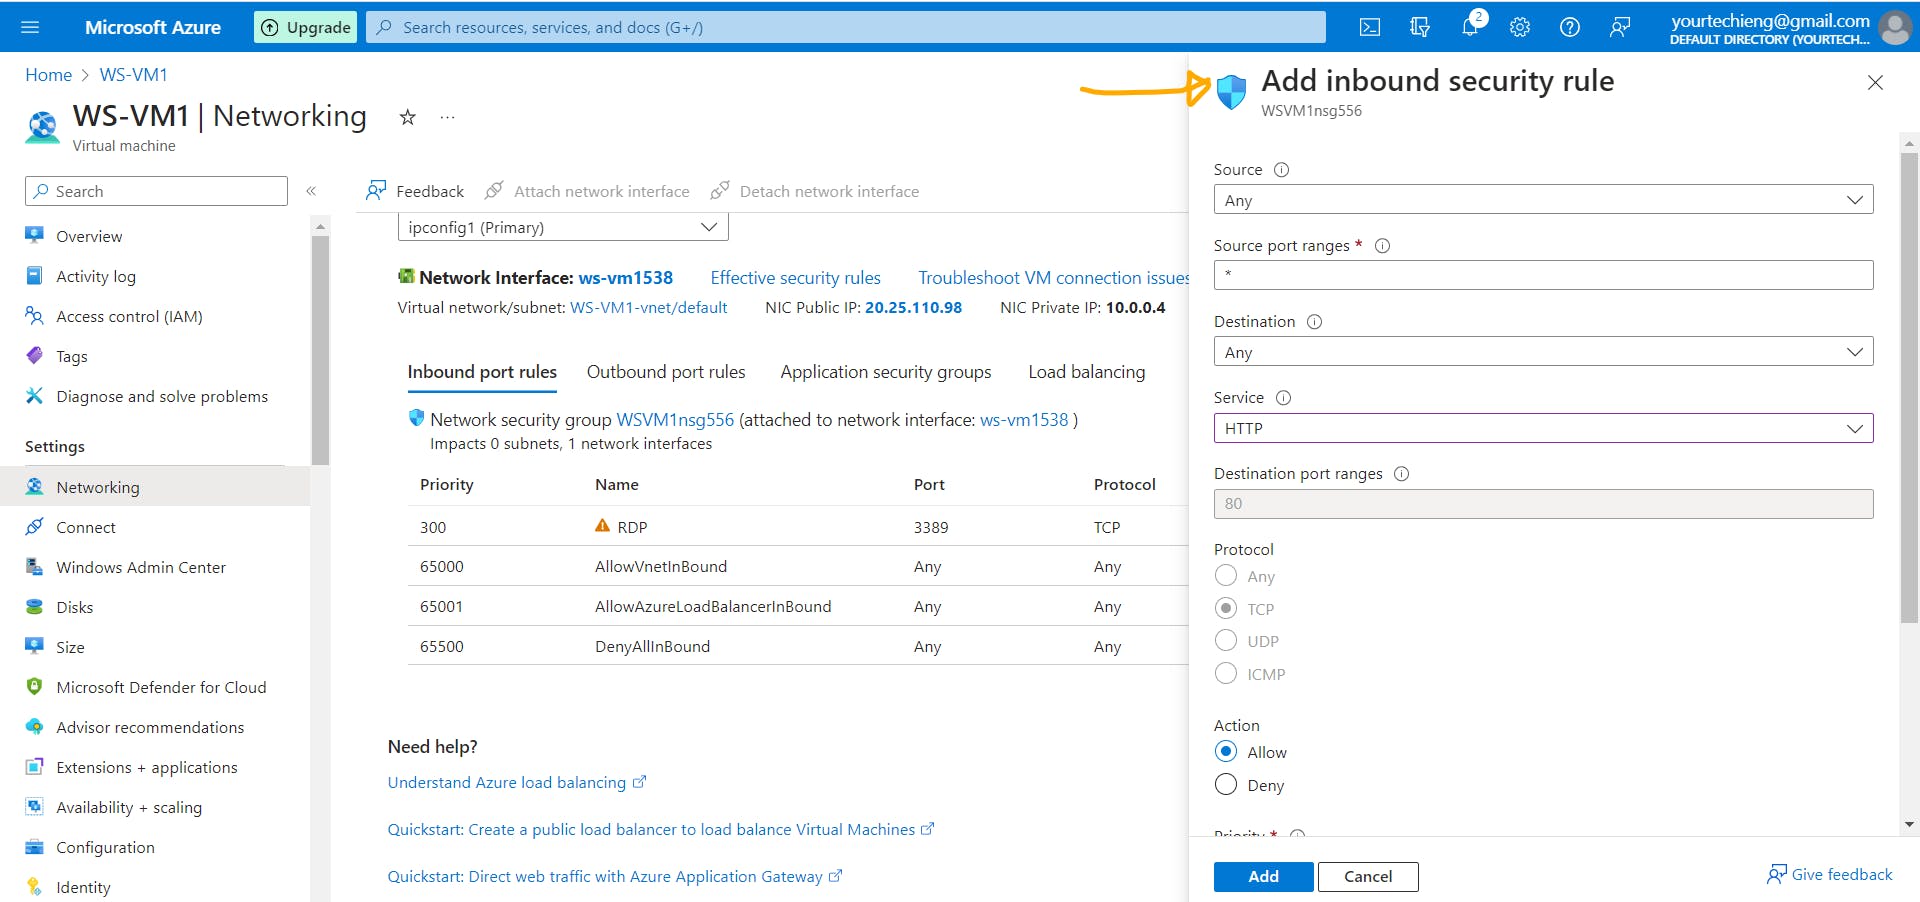
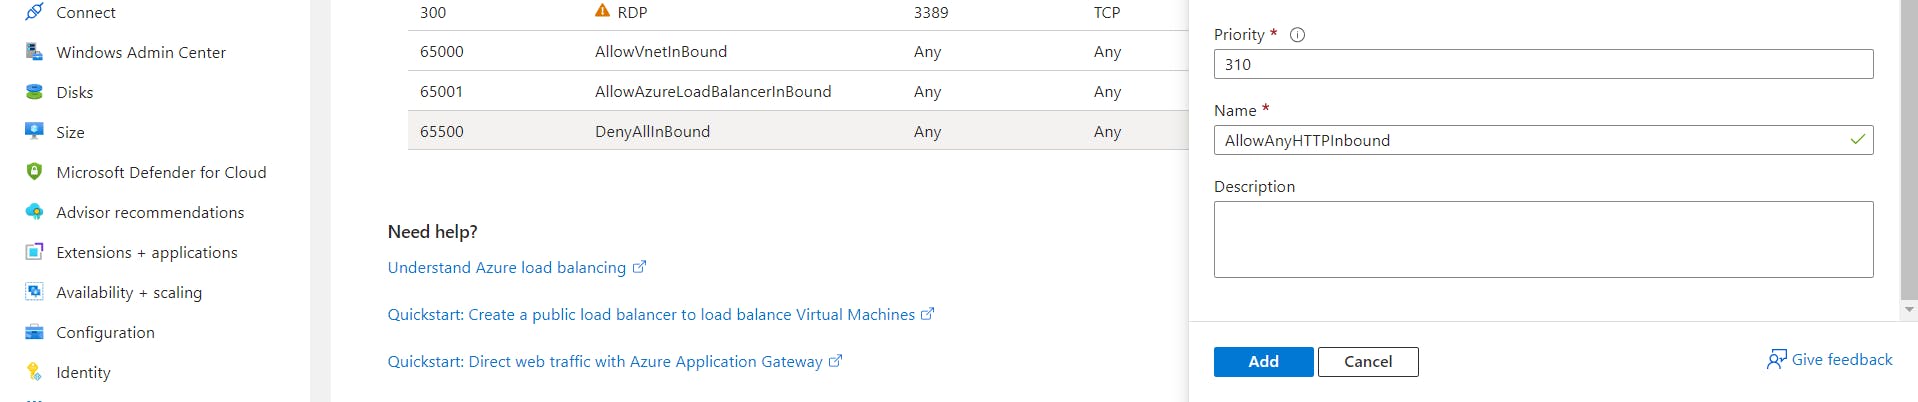
Back on the Networking page, click on Add inbound port rule.
On the Add inbound security rule page, set up the following configurations below and click Add.
On the WS-VM1 page, click Connect.

Under Native RDP, select Select.

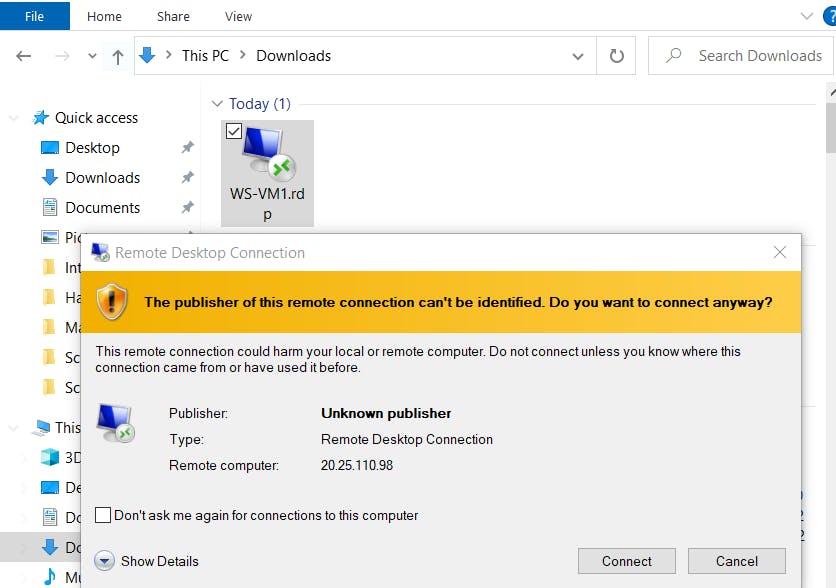
On the Native RDP page, click Download RDP file and open the file. Opening the RDP file will launch the Remote Desktop Connection dialog box.

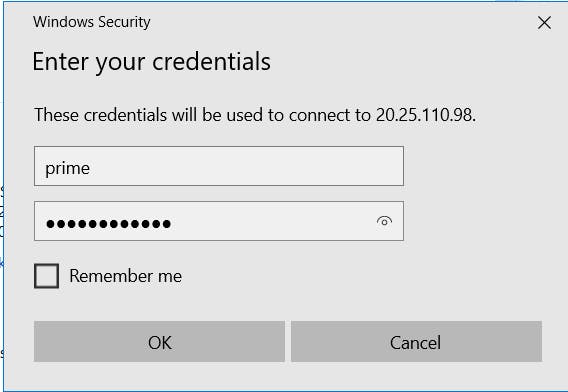
In the Windows Security dialog box, choose More Choices, and then select Use a different account.
Enter the username as .\prime and the password as the secure password you chose in Step 3, and click OK.
Once logged into the Windows Server virtual machine, right-click on the Start menu and choose Windows PowerShell (Admin).
In the elevated command prompt, type the following command and press Enter:
Install-WindowsFeature Web-Server -IncludeAllSubFeature -IncludeManagementToolsAfter the installation is complete, run the following command to switch to the web server root directory:
cd c:\inetpub\wwwroot\Execute the following command:
wgethttps://raw.githubusercontent.com/Azure-Samples/html-docs-hello-world/master/index.html-OutFile index.html