Creating your Custom Docker Image on Azure Container Registry and Deploying with Container Instances
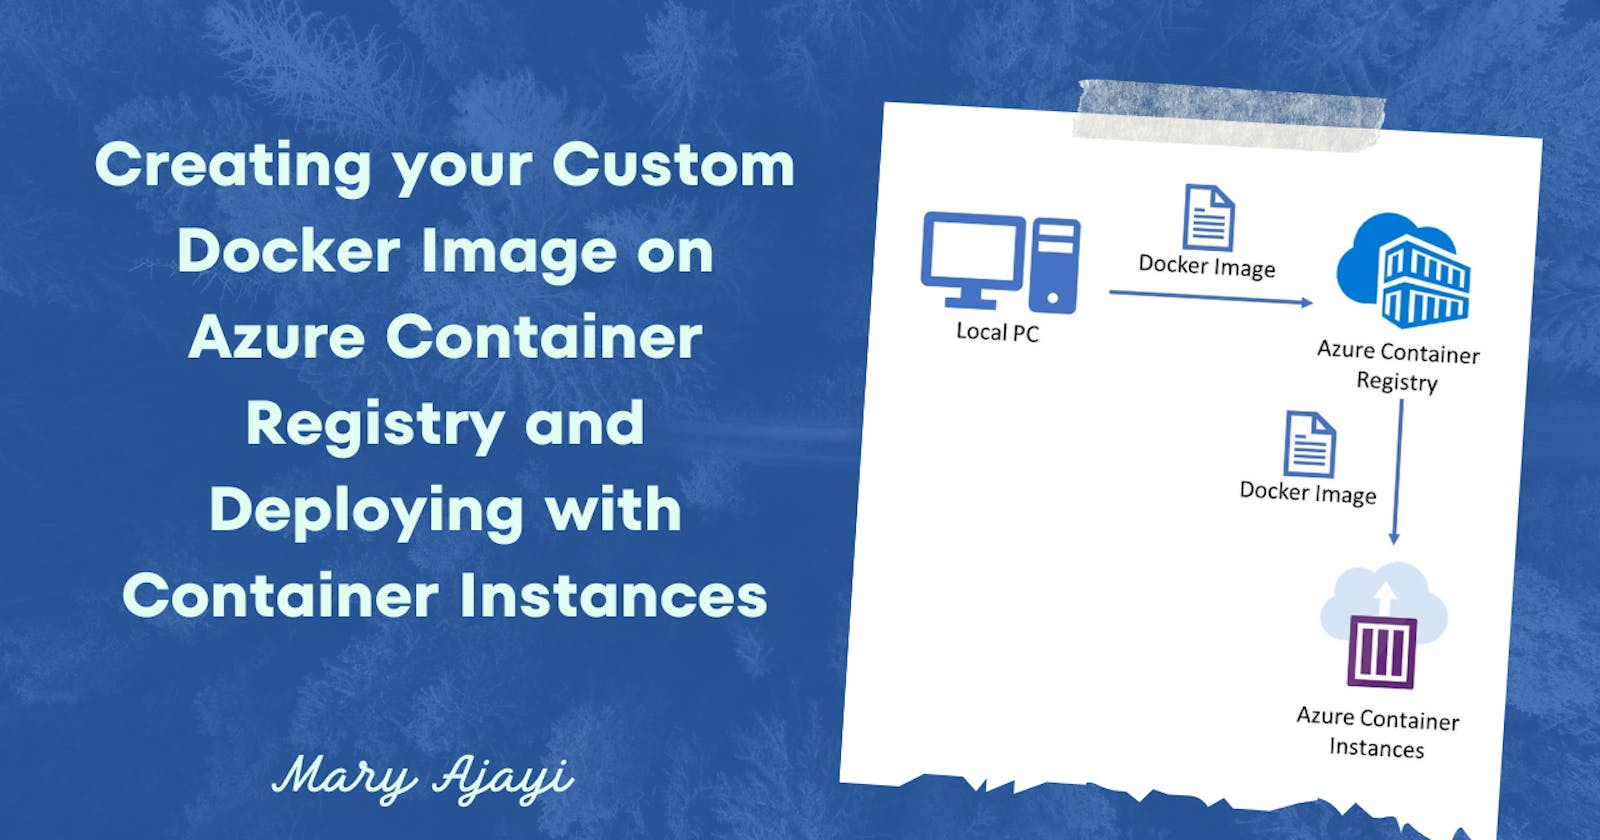
In the world of modern application development, containerization has become a crucial part of the deployment process. Docker, a popular containerization platform, allows developers to encapsulate applications and their dependencies into portable containers. Azure Container Registry (ACR) is a fully managed Docker registry service provided by Microsoft Azure, which enables you to store and manage your container images securely. In this blog post, we'll guide you through the process of creating your own Docker image, pushing it to Azure Container Registry, and deploying it using Azure Container Instances.
Prerequisites
Before diving into the tutorial, make sure you have the following:
An Azure account (if you don't have one, you can create a free account).
Azure CLI installed on your local machine. You can download it here.
Docker installed on your local machine: You can download Docker Desktop from the official Docker website.
Step 1: Create a Simple Dockerfile
Start by creating a new directory for your project. In this directory, create a file named Dockerfile without any file extension. Open the file in a text editor and add the following content:
FROM nginx:latest
ARG VERSION
ENV VERSION=$VERSION
COPY hostname.sh .
CMD ["/hostname.sh"]
Next, create a new file, name it hostname.sh in the same directory:
#!/bin/sh

HOSTNAME=`hostname`
VERSION=${VERSION:-v1}
cat > /usr/share/nginx/html/index.html <<EOF
<HTML>
<HEAD>
<TITLE>This page is on $HOSTNAME and is version $VERSION</TITLE>
</HEAD><BODY>
<H1>THIS IS HOST $HOSTNAME</H1>
<H2>And we're running version: $VERSION</H2>
</BODY>
</HTML>
EOF

mkdir /usr/share/nginx/html/healthz /usr/share/nginx/html/hostname /usr/share/nginx/html/version
cat > /usr/share/nginx/html/hostname/index.html <<EOF
$HOSTNAME -- $VERSION
EOF
cat > /usr/share/nginx/html/version/index.html <<EOF
$VERSION
EOF
chmod 777 /usr/share/nginx/html/healthz
cat > /usr/share/nginx/html/healthz/index.html <<EOF
healthy
EOF

nginx -g "daemon off;"
Step 2: Build the Docker Image
Now, open a terminal and navigate to the directory containing your hostname.sh and Dockerfile. Build the Docker image using the following command:
docker build -t your-image-name:tag .
Replace your-image-name with a unique name for your image and tag with a version or label.

Step 3: Azure Container Registry Setup
Navigate to the Azure portal (https://portal.azure.com/).
In the left sidebar, click on "Create a resource" and search for "Container Registry".
Follow the prompts to create a new Azure Container Registry.

Make a note of the registry's login server, as you'll need it later.

Step 4: Push the Docker Image to Azure Container Registry
After successfully building your Docker image, push it to your Azure Container Registry using the following commands:
# Log in to Azure Container Registry
az login

# Log in to Azure Container Registry
az acr login --name youracrname

# Build your local image
docker build . -t youracr.azurecr.io/your-image-name:v1

# Push the image to Azure Container Registry
docker push youracr.azurecr.io/your-image-name:tag
Replace youracr, your-image-name, and tag with your Azure Container Registry details and the image information.


Step 5: Deploy the Container to Azure Container Instances
In the Azure portal, navigate to the "Container Instances" service.
Click on "Create container instance" and fill in the required information, including the image source (your Azure Container Registry image URL).
Configure other settings like networking, environment variables, and resource allocation based on your application's needs.
Click "Review + create" and then "Create" to deploy your container instance.


Errors:

This error is at the stage of creating a container instance. Admin user must be enabled for the registry.
Solutions:

To solve the problem, navigate to Container Registries, Open your registry, go to Access Keys and enable Admin User.
Checks:

Open the container instance created, copy Public IP address and open in a new tab.


Congratulations! You've successfully created your Docker image, pushed it to Azure Container Registry, and deployed it using Azure Container Instances.
This setup provides a scalable and efficient way to run your containerized applications in the Azure cloud environment.
Feel free to explore more advanced configurations and features offered by Azure Container Registry and Container Instances for further customization.
