Dockerizing an HTML Project: A Step-by-Step Guide

I am passionate about all things tech, and I'm always learning new skills and technologies to stay on top of the latest trends.
I'm also a team player who loves collaborating with others to create innovative solutions.
In my free time, I enjoy coding, creating tech blogs, and seeing movies. I'm always up for a challenge and I'm excited to see what the future holds.
In the realm of modern web development, containerization has become a pivotal aspect of building, deploying, and managing applications. Docker, a popular containerization platform, offers a streamlined approach to packaging applications and their dependencies into portable, self-sufficient containers. In this blog post, we'll explore the process of Dockerizing an HTML project using the Nginx web server.
Prerequisites
Before we dive into the steps, ensure that Docker is installed on your machine. You can download and install Docker from the official website: https://www.docker.com/get-started.
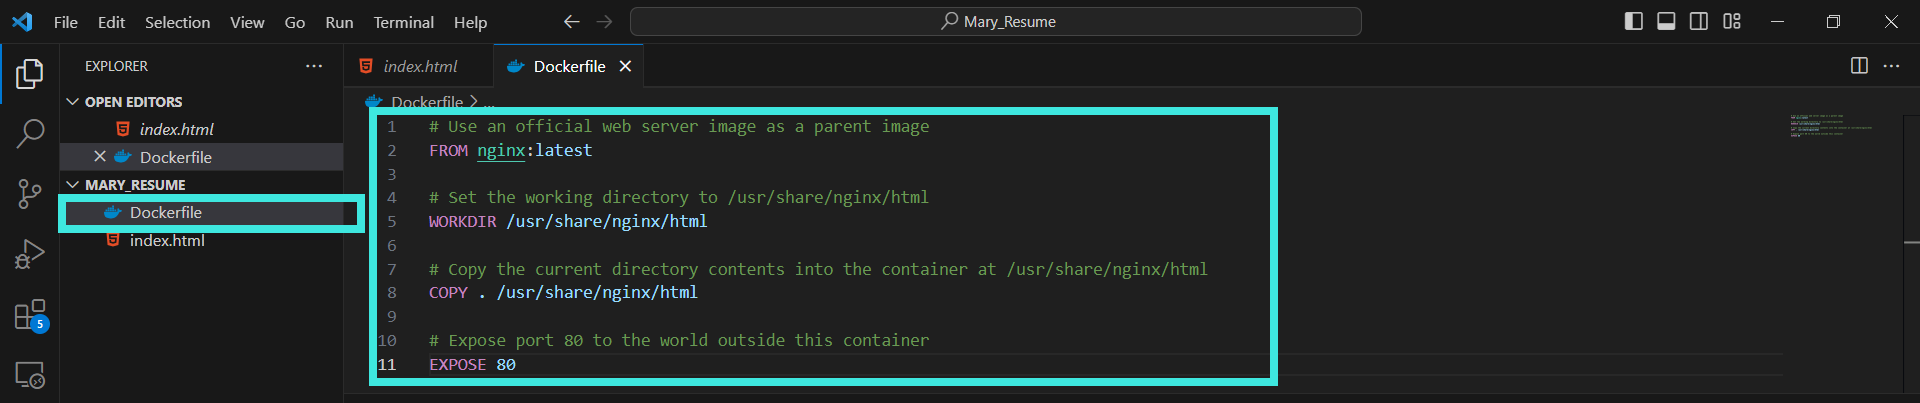
Step 1: Creating a Dockerfile
The first step in Dockerizing an HTML project is to create a Dockerfile. This file will contain the instructions for building a Docker image. In the root of your HTML project, create a Dockerfile with the following content:
# Use an official web server image as a parent image
FROM nginx:latest

# Set the working directory to /usr/share/nginx/html
WORKDIR /usr/share/nginx/html

# Copy the current directory contents into the container at /usr/share/nginx/html
COPY . /usr/share/nginx/html

# Expose port 80 to the world outside this container
EXPOSE 80
Here, we're using the latest version of the official Nginx image as our base image.
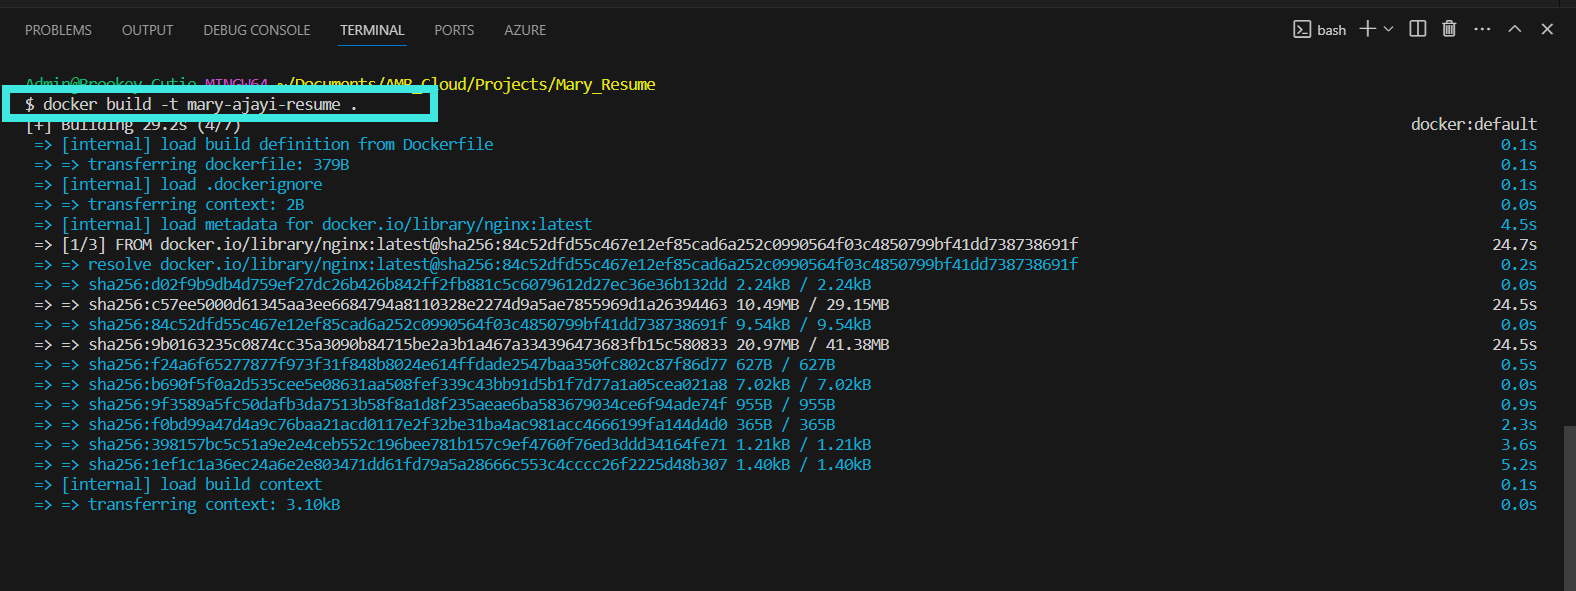
Step 2: Building the Docker Image
Open a terminal in the same directory as your Dockerfile and execute the following command to build the Docker image:
docker build -t your-html-app .
Replace your-html-app with the desired name for your Docker image.
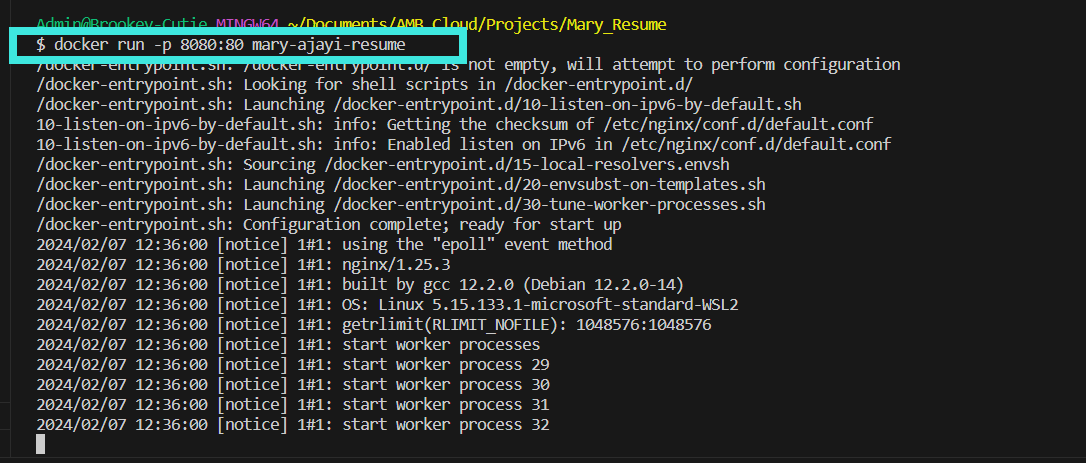
Step 3: Running the Docker Container
Once the Docker image is built, you can run a container based on that image. Use the following command:
docker run -p 8080:80 your-html-app
This command maps port 80 inside the container to port 8080 on your host machine. Adjust the port if needed.
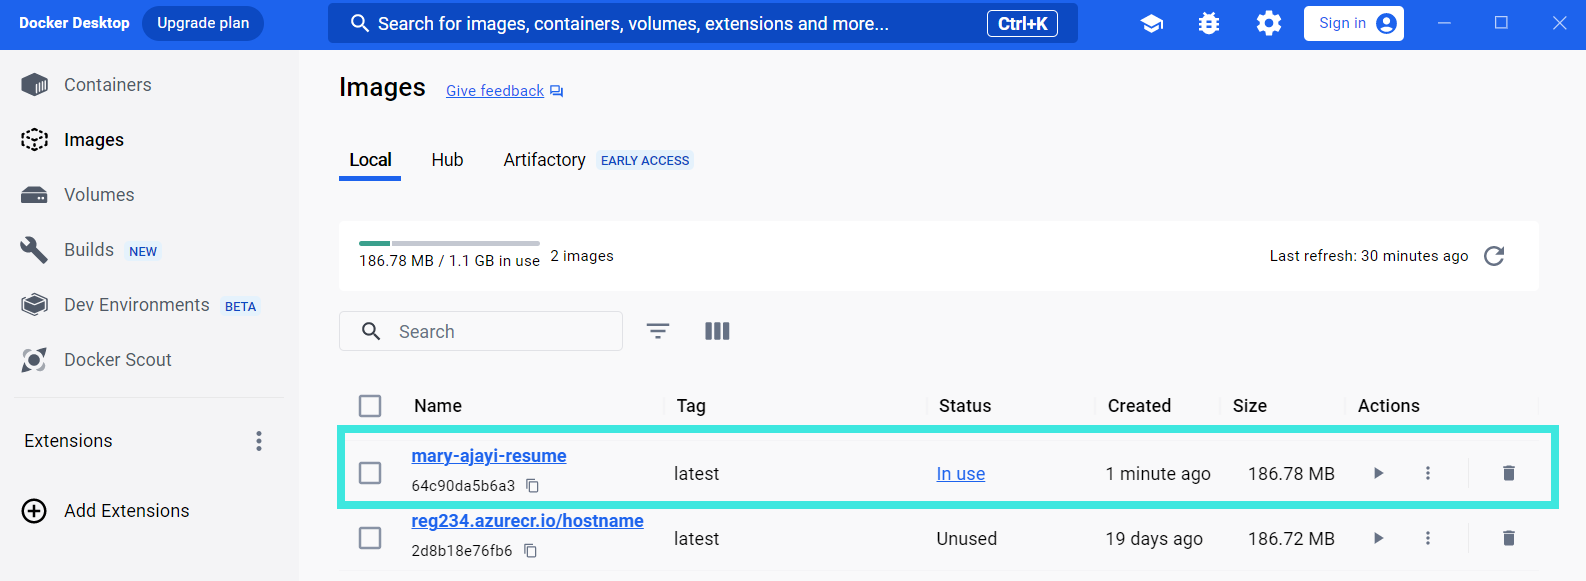
Step 4: Verify Your Image on Docker Desktop
Open your Docker Desktop and navigate to Images. You should now see your new build.
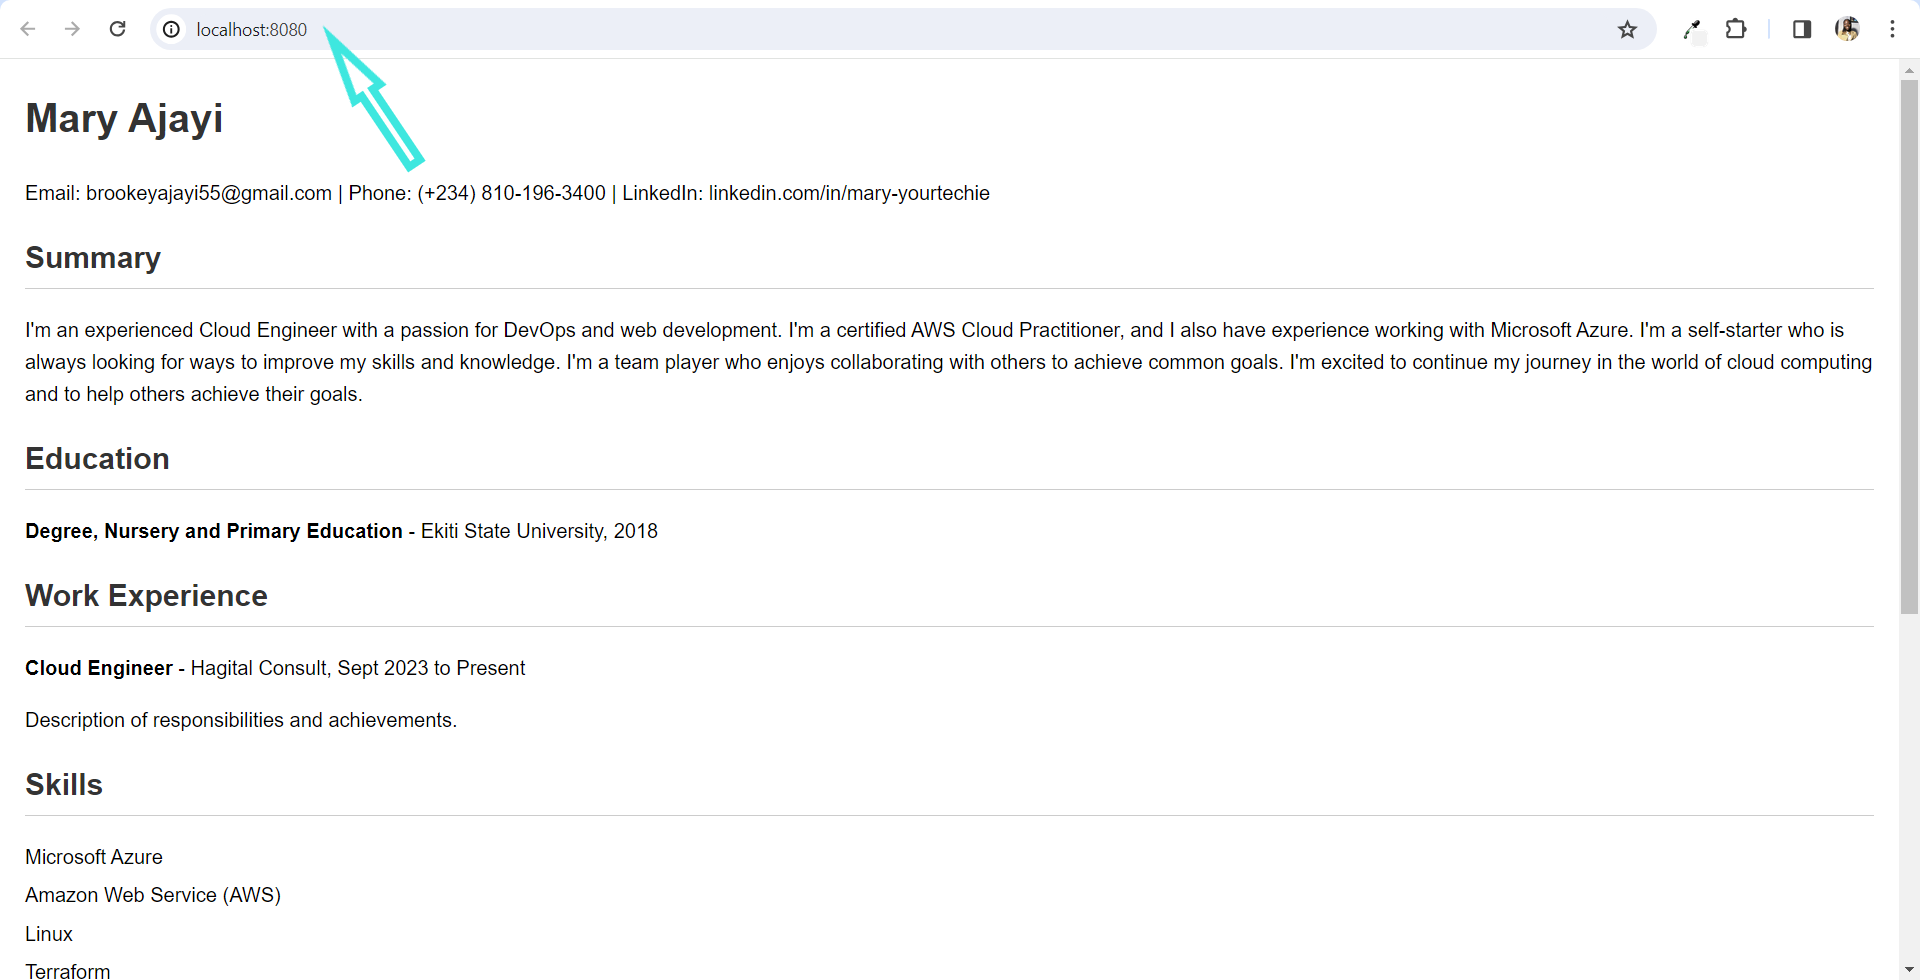
Step 5: Accessing Your HTML Project
Open your web browser and navigate to http://localhost:8080 (or the port you specified). You should now see your HTML project being served by Nginx inside the Docker container.
Conclusion
Dockerizing an HTML project provides numerous advantages, including portability and consistency across different environments. By encapsulating your project and its dependencies in a container, you simplify deployment and reduce potential issues related to differences in development and production environments.
Feel free to tailor the Dockerfile to accommodate specific project requirements. This approach sets the foundation for further exploration, such as incorporating additional server-side logic or integrating with other technologies.
Happy containerizing!


