Effortless Kubernetes Management: Creating and Scaling Workloads on Azure AKS with Azure CLI

I am passionate about all things tech, and I'm always learning new skills and technologies to stay on top of the latest trends.
I'm also a team player who loves collaborating with others to create innovative solutions.
In my free time, I enjoy coding, creating tech blogs, and seeing movies. I'm always up for a challenge and I'm excited to see what the future holds.
Kubernetes, the open-source container orchestration platform, has become a cornerstone in modern application development and deployment. Leveraging cloud providers enhances the capabilities of Kubernetes, and Microsoft Azure simplifies this integration with Azure Kubernetes Service (AKS).
In this technical blog, we will walk through the process of creating a Kubernetes cluster on Azure using the Azure Command-Line Interface (CLI).
Prerequisites
Before you embark on creating a Kubernetes cluster, ensure you have the following prerequisites in place:
Azure Account: You need an active Azure subscription.
Azure CLI: Install the Azure CLI on your local machine. If you haven't installed it yet, you can follow the instructions on my article;👉🏼 Click here to progress.
Minikube: Install Minikube on your local machine so you can run Kubectl commands. https://minikube.sigs.k8s.io/docs/start/
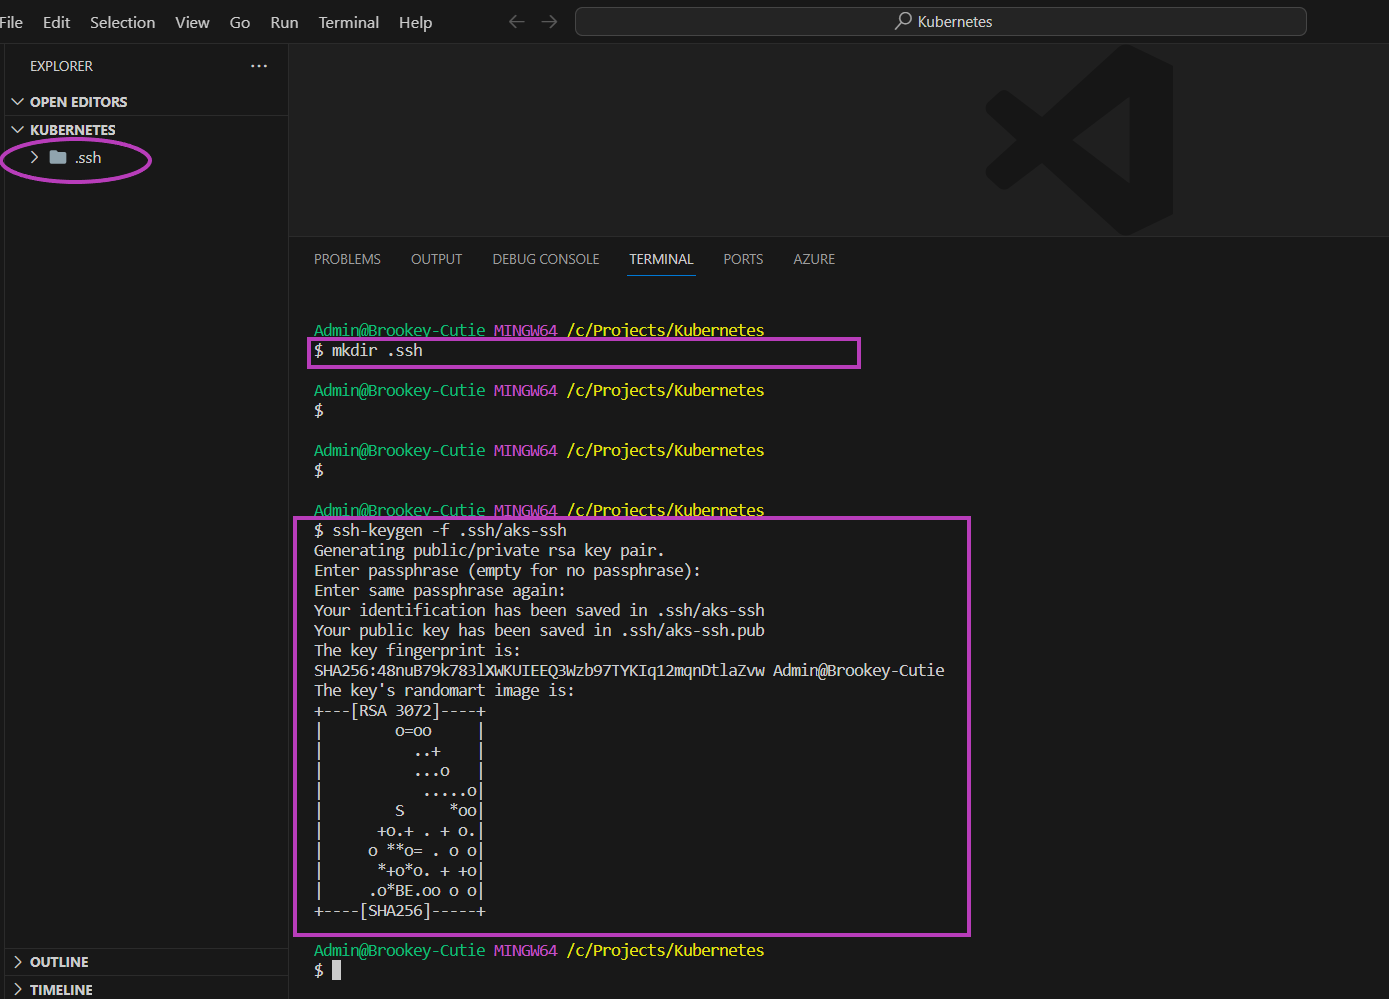
Create a New Folder
Make a new hidden folder called ".ssh". This will store our generated ssh keys.
You can open your terminal and input the following commands:
# Make a directory
mkdir .ssh

# Generate ssh key
ssh-keygen -f .ssh/aks-ssh
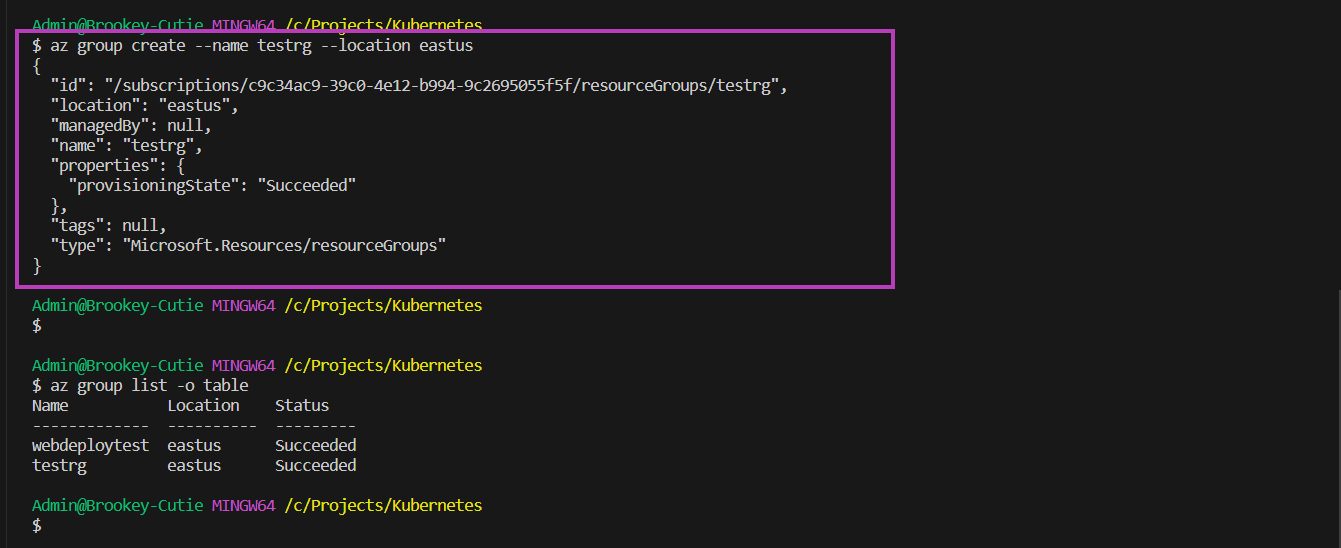
Creating a Resource Group
Azure organizes resources into groups for management and billing. The first step is to create a resource group using the following command:
az group create --name testrg --location eastus
Replace "testrg" with a name of your choice and choose a suitable Azure region.
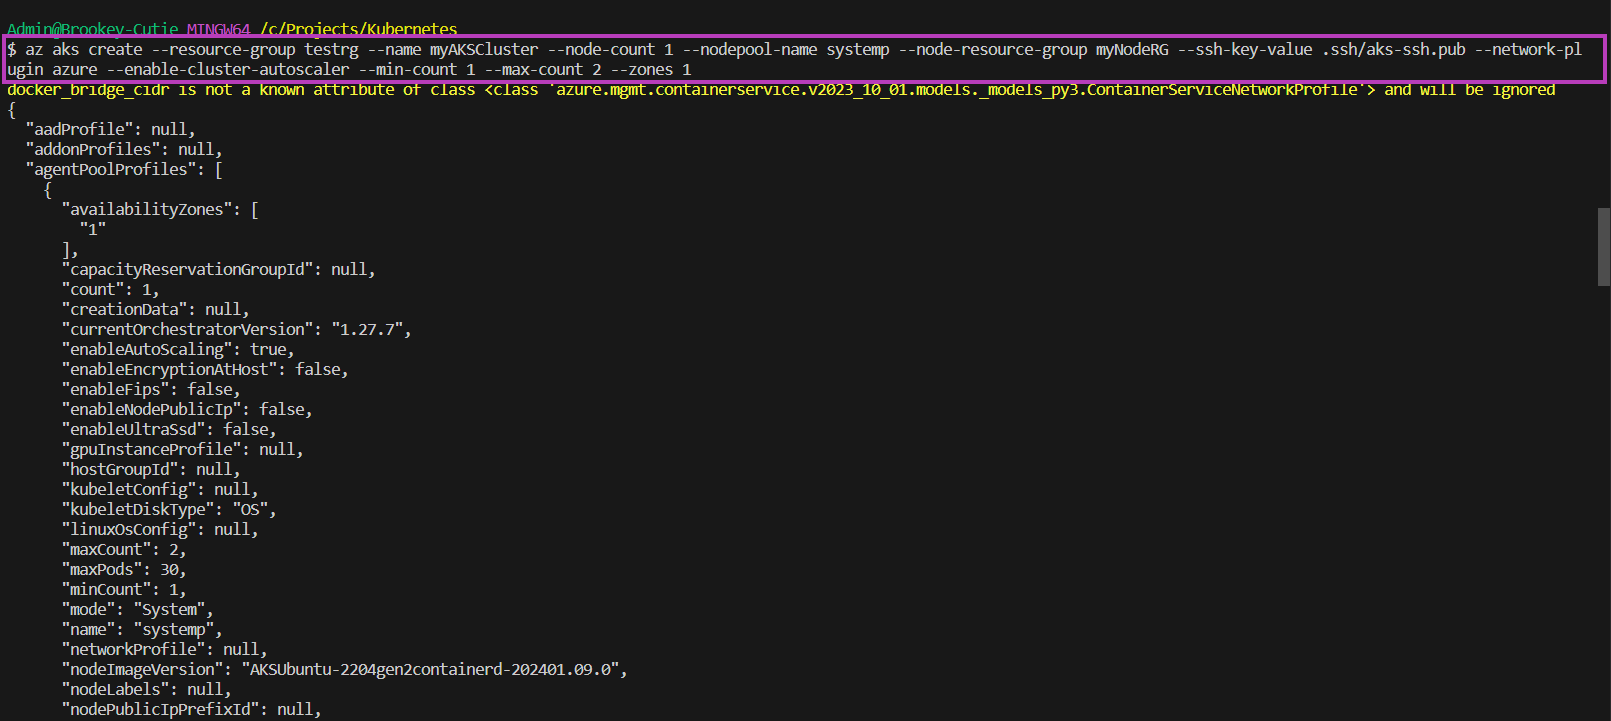
Creating an AKS Cluster
Now, let's create an Azure Kubernetes Service (AKS) cluster within the resource group. Use the following command:
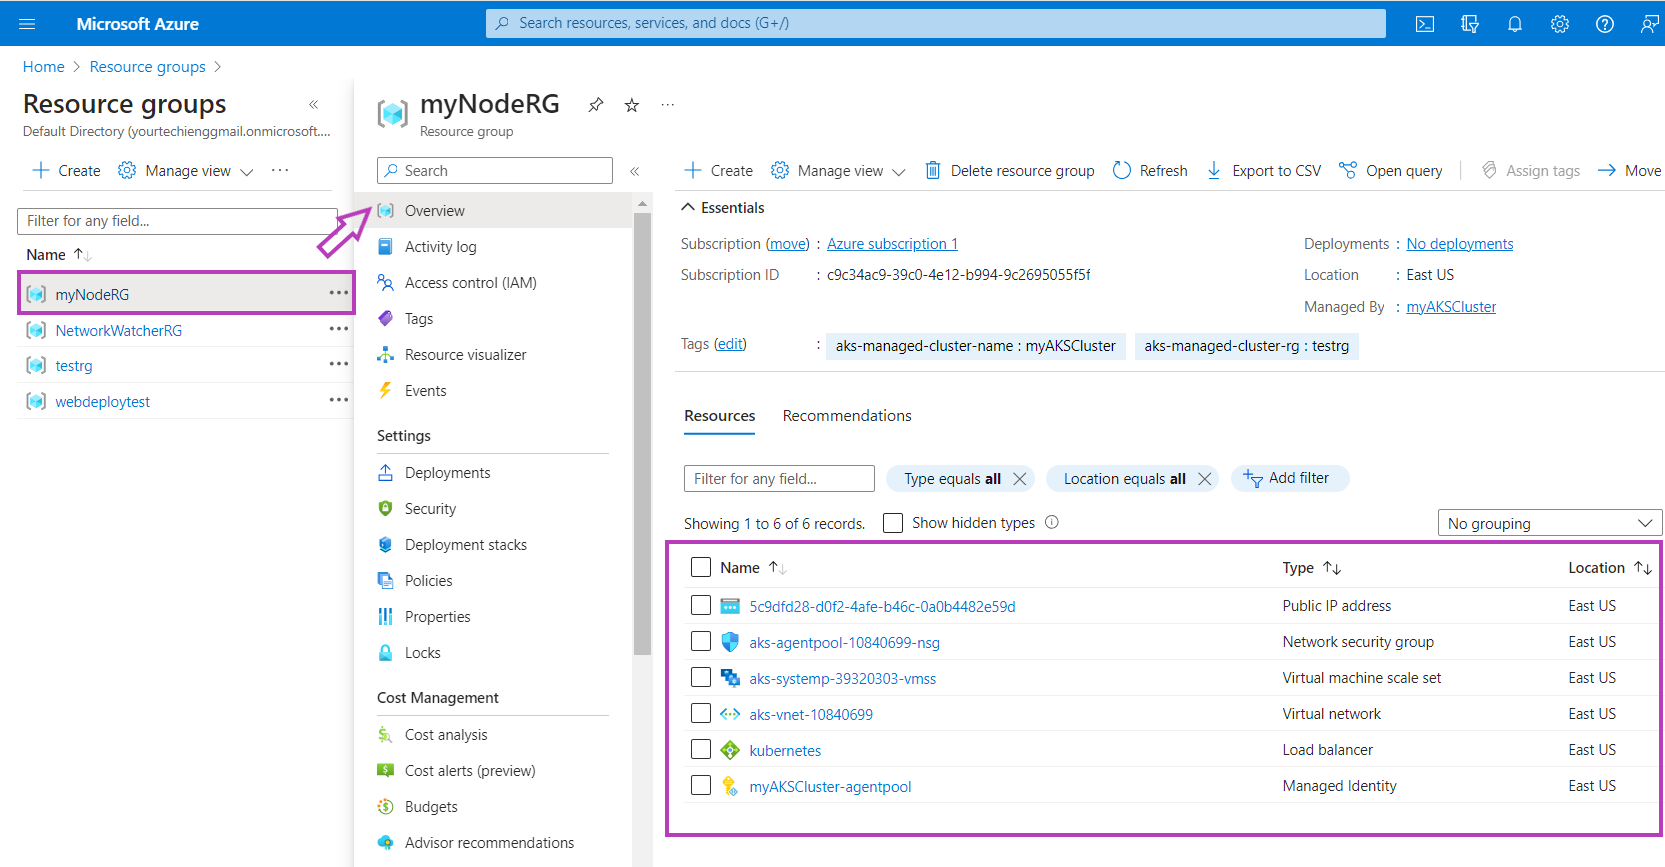
az aks create --resource-group testrg --name MyAKSCluster --node-count 1 --nodepool-name systemp --node-resource-group myNodeRG --ssh-key-value .ssh/aks-ssh.pub --network-plugin azure --enable-cluster-autoscaler --min-count 1 --max-count 2 --zones 1
This command creates an AKS cluster named "MyAKSCluster".
Checks:

Connecting to the Cluster
After the AKS cluster is provisioned, you need to configure kubectl to interact with it. Use the following command:
az aks get-credentials --resource-group testrg --name MyAKSCluster
This command retrieves the cluster credentials and updates your kubeconfig file, allowing you to use kubectl with your AKS cluster.

Verifying the Cluster
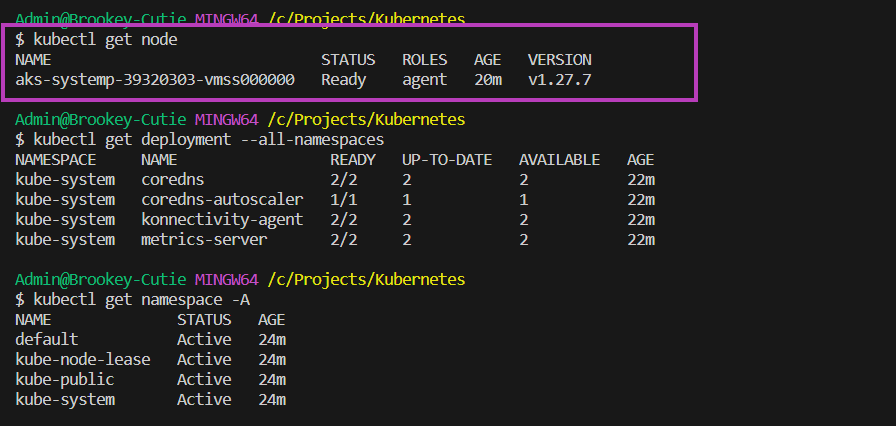
To verify that your AKS cluster is up and running, execute the following command:
kubectl get nodes
# or
kubectl get node
This should display the nodes that make up your AKS cluster, indicating that it's in a healthy state.
Create the "frontend" Namespace
Execute the following command to create the "frontend" namespace:
kubectl create namespace frontend
This command creates a new namespace named "frontend" in your AKS cluster.

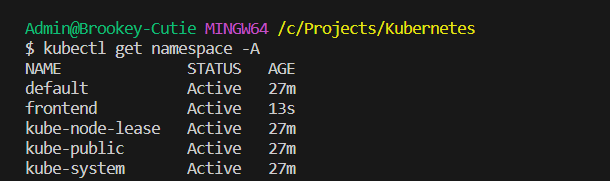
Verify the Namespace
To confirm that the "frontend" namespace has been created, run:
kubectl get namespaces
# or
kubectl get namespace -A
You should see "frontend" listed among the namespaces.
Use the Namespace in Deployments
When deploying resources, you can specify the namespace to use. For example, if you want to deploy an NGINX deployment in the "frontend" namespace, you can use the following command:
kubectl create deployment nginx-deployment --image=nginx:latest --replicas=3 -n frontend
Here, the -n frontend flag specifies that the deployment should be created in the "frontend" namespace.
Create NGINX Deployment
Execute the following command to create a basic NGINX deployment with three replicas:
kubectl create deployment nginx-deployment --replicas=3 --image=nginx:latest --port=80
This command creates a deployment named nginx-deployment using the official NGINX Docker image with three replicas.

Verify the Deployment
Check the status of your NGINX deployment by running:
kubectl get deployments
# or
kubectl get deployments -A
# or
kubectl get deployment --namespace default
You should see the nginx-deployment listed with the desired and current replicas both set to 3.

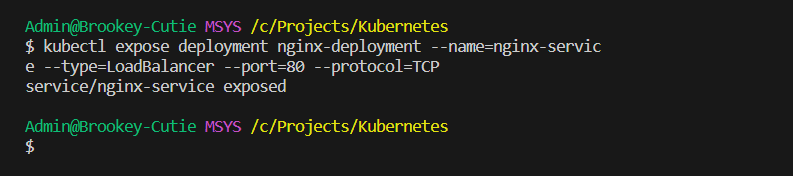
Expose the Deployment
Expose the NGINX deployment as a service to make it accessible externally:
kubectl expose deployment nginx-deployment --name=nginx-service --type=LoadBalancer --port=80 --protocol=TCP
This command creates a LoadBalancer service for the NGINX deployment.
Get the External IP
Wait for a few moments until the external IP address is assigned to your service. Retrieve the external IP by running:
kubectl get services
# or
kubectl get services nginx-service --watch
Look for the "EXTERNAL-IP" to get the IP address assigned to the NGINX service.

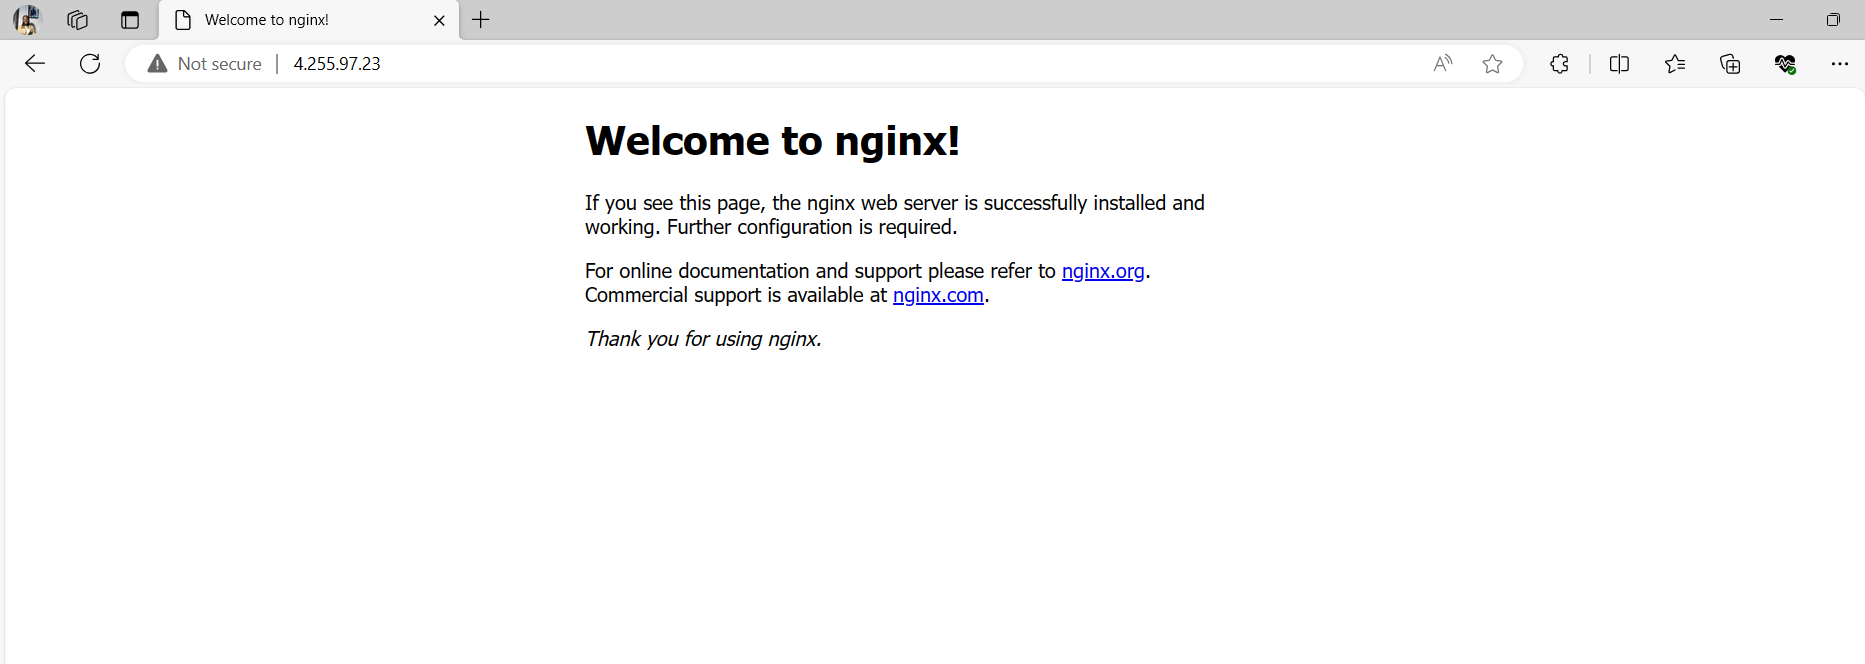
Access NGINX
Open your web browser and navigate to http://<EXTERNAL-IP>/. You should see the default NGINX welcome page.
Check Pods

Check Replica Sets

Check Logs

Cleaning Up Resources
When you're finished with your AKS cluster, it's important to delete the resources to avoid unnecessary charges. Run the following commands:
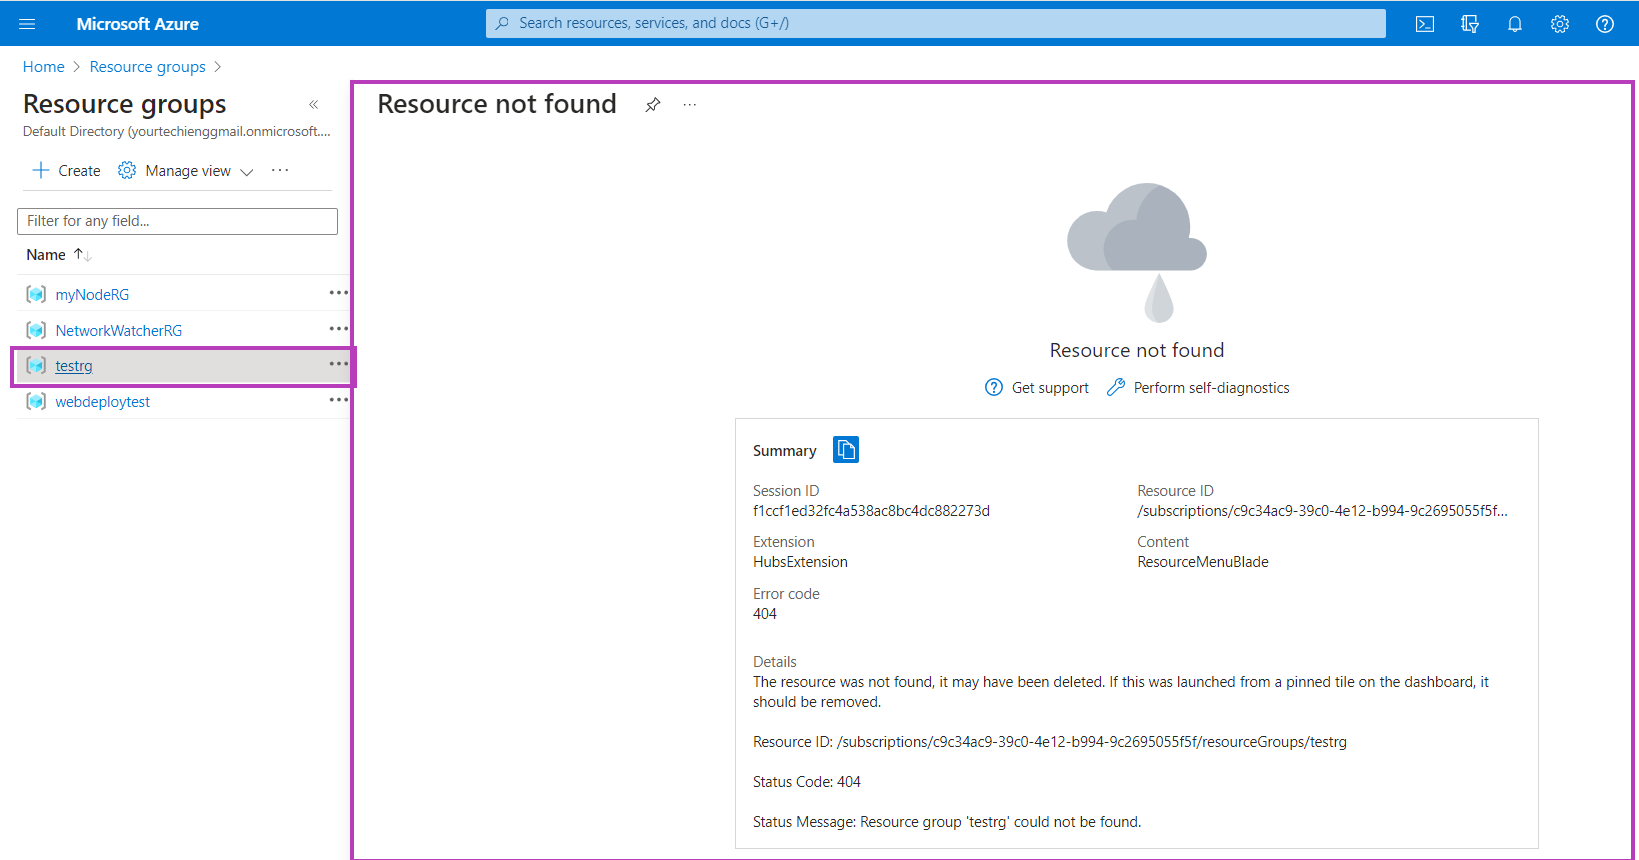
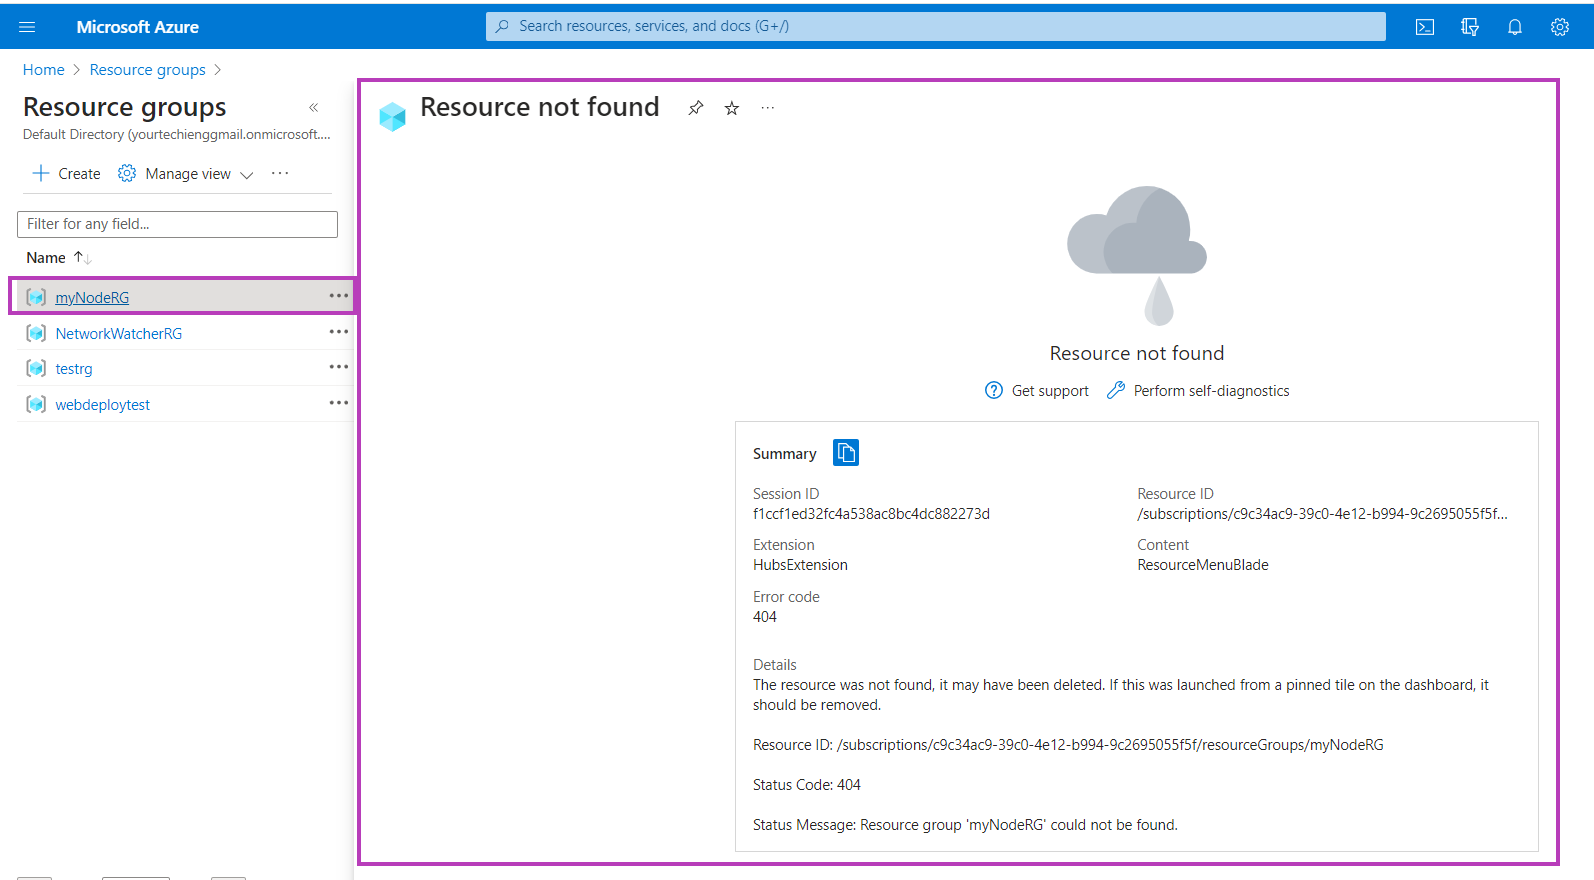
az aks delete --resource-group testrg --name MyAKSCluster --yes --no-wait
az group delete --name testrg --yes --no-wait

Conclusion
You have successfully created a Kubernetes cluster on Azure using the Azure CLI. This foundational setup allows you to explore and deploy containerized applications on a scalable and managed Kubernetes environment.
As you continue your journey with Kubernetes on Azure, explore additional features offered by AKS, such as networking options, auto-scaling, and integration with Azure DevOps for seamless CI/CD pipelines.


